
There’s a reason serious backpackers spend almost as much time selecting their pack as they do selecting everything that goes in it. Your pack transfers the weight of everything you own for the trip onto your body — specifically onto your hips, shoulders, and back — for hours at a time over multiple days. You cannot out-hike a bad pack fit.
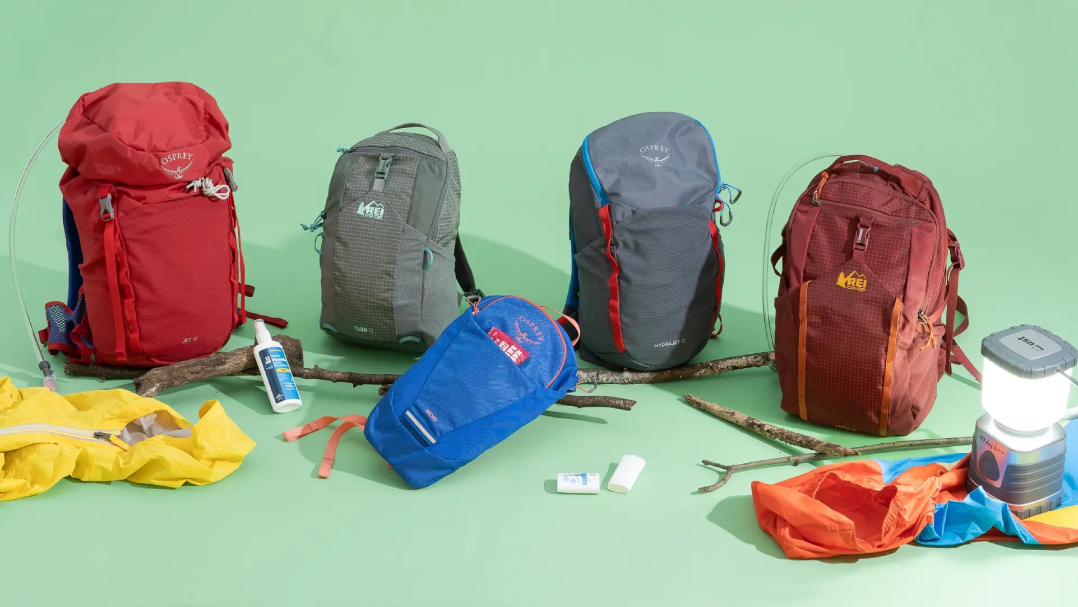
Volume — How Much Pack Do You Actually Need
Volume | Trip Type | Notes |
20–35 liters | Day hiking | Water, snacks, emergency layer — no overnight capability |
40–50 liters | Weekend backpacking (1–3 nights) | Sweet spot for efficient packers |
55–65 liters | Multi-day (4–7 nights) | Standard technical pack range |
70+ liters | Extended expeditions | Winter camping, base camp mountaineering |
Common beginner mistake: buying a 70L pack “to have room” then either overpacking to fill it or rattling around with a destabilizing undersized load. Match the volume to your actual use case.
Fit — The Technical Part That Actually Matters
Torso length, not height, determines pack fit. Two people who are both 5’9″ can have torso lengths differing by four inches — putting them in different pack size categories. Torso length is measured from the C7 vertebra (prominent bump at base of neck) to the iliac crest (top of hip bones at back). Most outdoor stores can measure this in two minutes.
Hip belt sizing is equally important. The hip belt should wrap around your iliac crest — the top of your hip bones — not your waist. When cinched, the belt padding should be centered on your hip bones. Load lifters should run at roughly 45 degrees when properly adjusted.
Best Backpacking Packs 2026
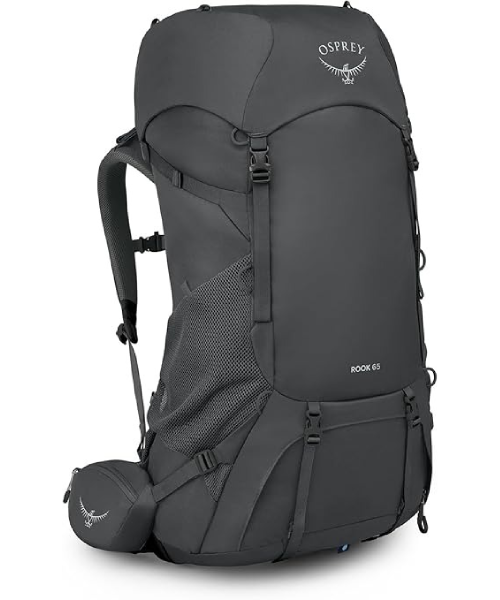
The Anti-Gravity suspension creates an air gap between your back and the pack — dramatically improving ventilation on long days. Adjustable fit system, excellent organization, the pack that most experienced backpackers point to when asked without knowing budget. Worth saving for if you’re going to hike seriously.
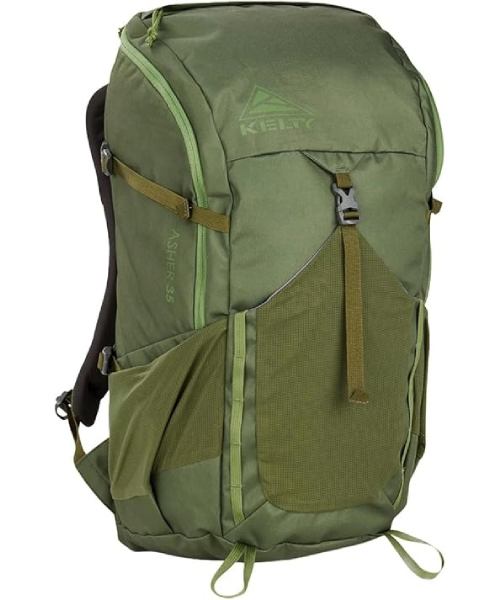
For someone who wants to start backpacking without the Osprey price tag. Simpler suspension system, but covers weekend backpacking competently. Good organization, decent fit range, solid enough construction for a beginner.
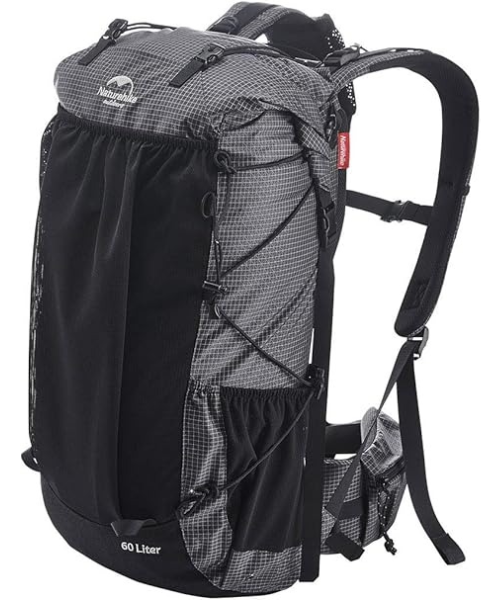
25 oz for a 40L pack — remarkably light. Frameless design means it’s not appropriate for heavy loads or beginners. For an experienced packer carrying 20–25 lbs, it’s a genuinely excellent piece of kit.
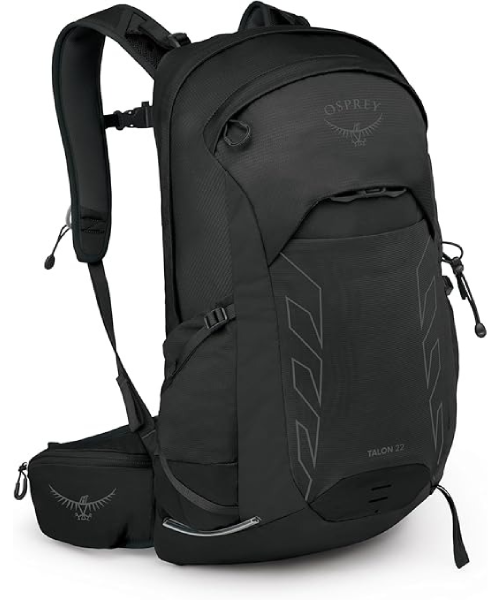
Integrated hydration compatible, good organization, comfortable carry for a full day, light enough that you barely notice it on moderate terrain. The recommendation that keeps coming up for day hiking.
How to Pack Your Pack Correctly
Heaviest items (bear canister, tent body, food) should ride high and close to your back. Medium weight items (sleeping bag, clothing layers) go lower and toward the outside. Lightest items (sleep pad, puffy jacket) at the very bottom. This keeps your center of gravity high and close to your body — the most stable carry position. Heavy items low and away from your back shifts your center outward and strains your lower back.